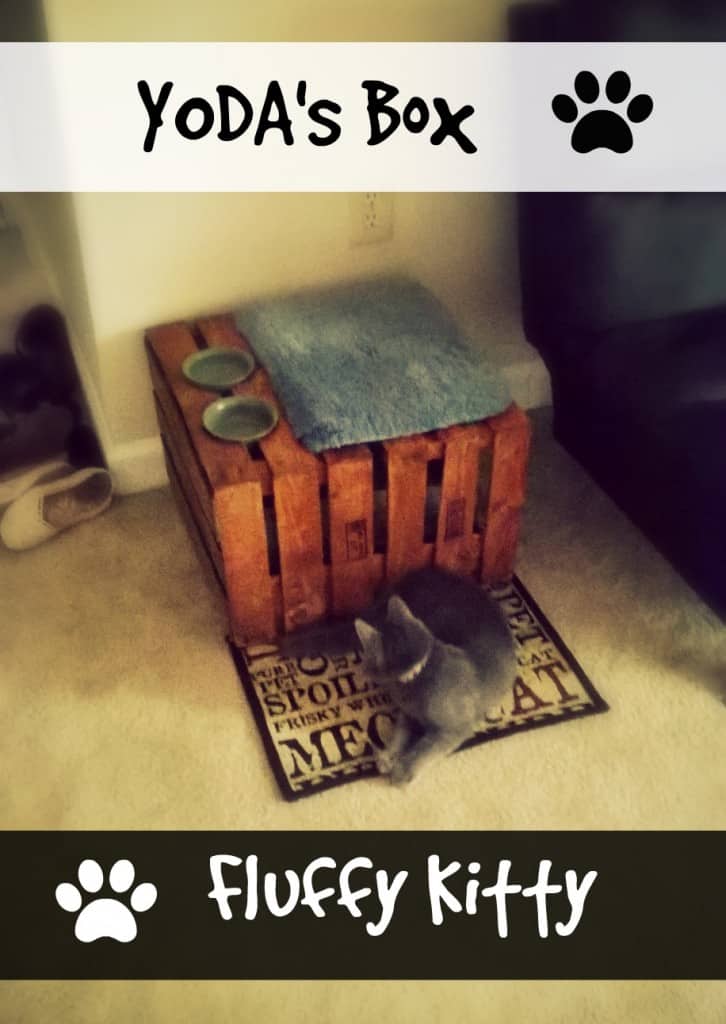
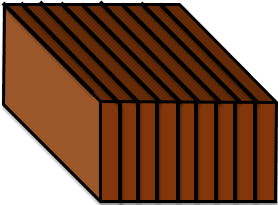
Are you, as millions of other Americans, the not-so-proud owner of this good ole classic plastic litter box? I know, we’ve been there too! It’s so cheap and so convenient that it would be difficult to put it away. Have no fear, we are here to help you hide this monstrosity of the modern world!
When we first got Yoda, we were no exception! Yep, you guessed that right, the plastic litter box was sitting in our living room. I made it a priority to camouflage this ugly piece of plastic. With a little work and recycling I created a cat litter box enclosure that would fit our visual needs and that would be convenient for our little beast.
How to make a cat litter box enclosure? Here is my answer to your problem 🙂

Required Material
- 2 wooden crates of good size (the height of one crate should be bigger than half the length of your plastic litter box)
I got ours at a local grocery store where the owner was happy to get rid of them. Otherwise, you can find nice crates at your local craft store or directly online.
- A fluffy carpet/bath mat
Not too big not too small, you will probably need to cut it to make it fit on top of the box.
- 1 easy-to-clean mat to stop litter tracking
- 1 plastic litter box
- Water and food bowls
- Sand paper
- Paint / Varnish
- 1 saw (I also used a Craftmans Variable Speed Rotary Tool Kit)
- 1 ruler
- Strong wood glue / All purpose glue
- 1 pencil + notebook
Measure & Draw Your Masterpiece
It is essential to begin by first planning a little. Make sure everything will work together. Are the boxes big enough to fit your plastic litter box? Are they tall enough so your cat can stand in the enclosure while it’s done? Just draw everything on a piece of paper so you will avoid making a mistake on your precious crates.
Make it Paw by Paw
When selecting a crate, make sure the material is non toxic for your cat. Once you have found everything required to build the box, set up in a nice working space with good lighting. If you found second hand crates, clean them thoroughly by using sandpaper. This might take some time but it’s worth the effort. You will get clean and smooth boxes that will make it much easier once you decide to paint it.
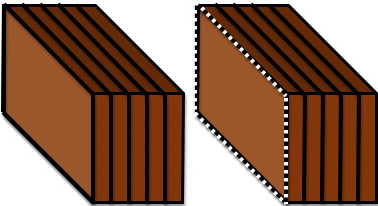
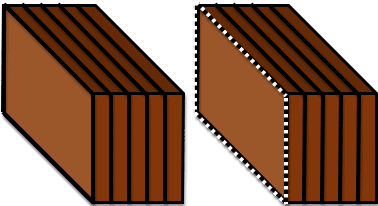
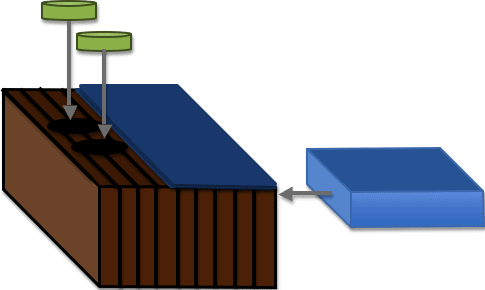
Step 1: Cut out one of the boxes bottom (The bottom of my boxes was made of small wooden planks so it was really easy to take off. You might need to use a special tool (Craftmans Variable Speed Rotary Tool Kit or else) to take care of this depending on the thickness of the wood. Be precise in order to prepare for a perfect assembly.
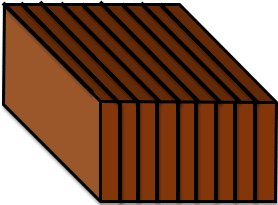
Step 2: Assemble both boxes with strong wood glue and let dry for the indicated time.
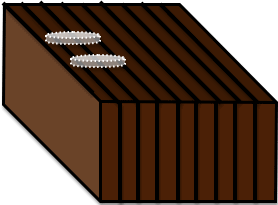
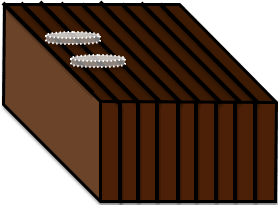
Step 3: Measure the size of your food and water bowls and draw a patron that’s a tiny bit smaller on your boxes. Make sure your holes are not going to be too big! It’s better to make them too small and correct than the other way around 🙂 If you are satisfied with your drawing, cut it out!
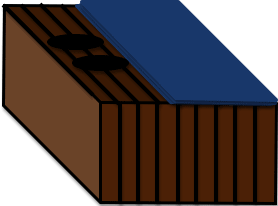
Step 4: Paint or varnish your box now. It’s the perfect time since everything is now ready without needing further wood cutting (which would damage the paint).
Step 5: Measure the area where you want the fluffy carpet to be and cut the carpet accordingly. Then glue it to the wood and let it dry for a while.

Step 6: Add the water/food bowls and the litter box! Your cat litter enclosure is now ready! Just set a nice little easy to clean carpet on the front so your beast can wipe his paws on the ways out.
You can of course (and you should) adapt this “recipe” to your liking.
Everybody enjoys different designs so just make it your own, decorate it for your ball of fluff cause he’s gonna be the one using it after all!
Final Thoughts on Our DIY: How to Make a Cat Litter Box Enclosure
This is a fairly easy to do DIY but it does take some time, so be ready! You now know how to make a cat litter box enclosure to hide this ugly plastic litter box.
If you are a handy man/woman, it is so much fun building something for your beast.
When I finished building this enclosure I immediately made Yoda try it out. He LOVED it! Hope it’s the same for your own fluffy kitty! Please leave a comment for any questions and be sure to take a picture and send it to us, we’ll be happy to feature your work right here.
Want more? Read the story behind Fluffy Kitty and how it all got started from making Yoda his own litter box furniture in our interview!
Bobby Saint
Monday 12th of March 2018
I am grateful to you for sharing some simple instructions on how to make a cat litter box. The steps you've provided seem very simple indeed. I also have three pet cats who can be a little out of control at times. I wish I was as creative as you when it comes to creating these litter boxes. Perhaps, I'll just look around for one that is readily available for purchase online. Thanks for sharing this, though.
Brittany, Paul, & Yoda =^^=
Friday 23rd of March 2018
Hey there Bobby! Thanks very much for your comment :) The box Paul made for Yoda wasn't anything too grand, but he sure did put a lot of hard work into drawing it out and cutting all the right-sized wooden planks for it. We've had to move several times so we couldn't take it with us everywhere, but once we settle we're no doubt gonna try to make more! :) Thanks for dropping by and sharing with us.
Tonya
Friday 3rd of June 2016
You should never have the food and fresh water that close to a litter box, let alone on top of it!
Bribri and Polo
Friday 3rd of June 2016
Hello Tonya! Thanks for your comment and you are right, I should have given more details about this aspect of the project. It is very important indeed to make sure that food/water and litter are very well separated. In our case the upper part of the box was insulated with a double wooden reinforcement which made this very functional for our beast who was not bothered at all. Not to mention that the litter we used at the time was a very natural, biodegradable and unscented litter that we cleaned daily. Yoda has been using it for more than a year now and has never encountered any problems. If you do not feel comfortable with this project, feel free to do it differently and do not put the bowls on top. Thanks for enabling me to clear this important matter. Hope to see you again on Fluffy Kitty!